
First, a Disclaimer. I am not a "Tech" guy. I have had several conversations with professional comic colorists, and they pretty much always degrade into me staring blankly at them while they talk about Photoshop Channels or whatever other crap that I have no idea how to use properly. Look, I took ONE Photoshop class in college, and it taught me NOTHING. What I've learned over the past decade of using the program is a cobbled-together mess of "Things I need to know to achieve the look I want." Truthfully, I have scratched just the surface of Photoshop's power, and I know how to do one or two things in it well. But I've dedicated my life to exploiting those one or two things until the day I die.
Step 1: Scanning!

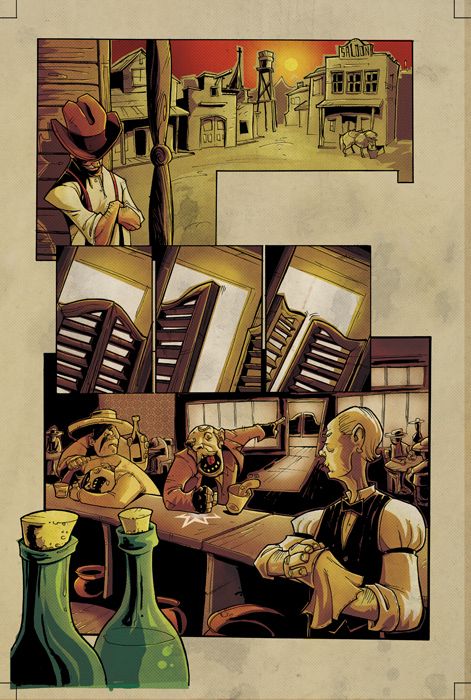
First up, I scan in the finished inks at 1200dpi in B&W Lineart mode. It's crisp and the red graphite I pencil in doesn't show up on the scans. I use studiomate Kody Chamberlain's Epson 15000 scanner, and it's got the best scans I've ever seen. From there, I convert it to GreyScale mode, then CMYK mode, then drop the resolution to 600dpi. I drop the lineart into a pre-made template, then size it down to about 6.875 x 10.187. From there, I'm ready to go.
Step 2: Rough Shadows!

Next up, I'll roughly draw the shadows for the page. This is mostly an informative step, since I have a color assistant, S. Steven Struble to fill in color separations and clean up shadow work according to my guides. Also, I do this because I am ANAL. Several comic friends rib me for not just contracting all my color work away, but hey, doing it myself makes the finished product that much more rewarding to me. Maybe one day, after I have sufficiently worked myself to death, I'll stop coloring.
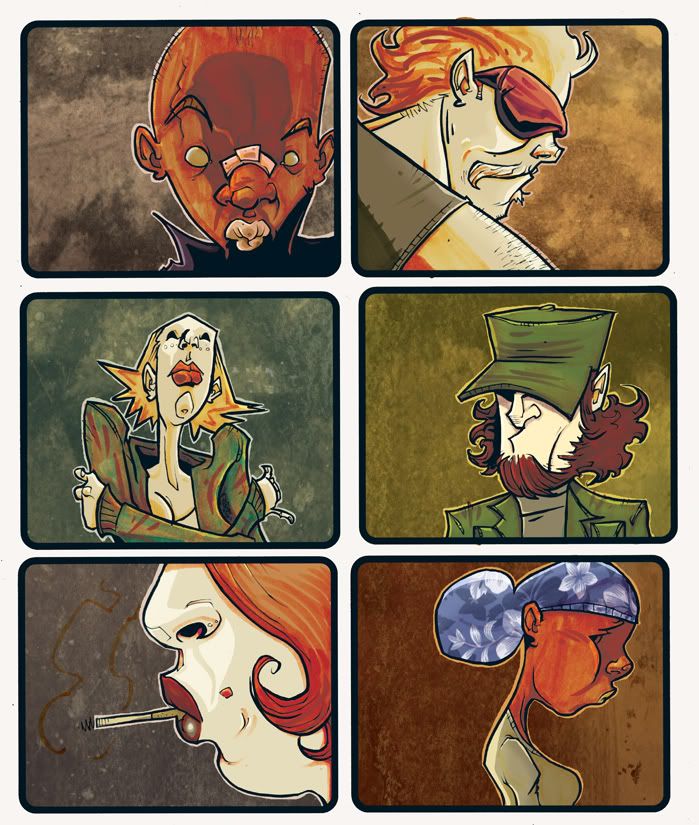
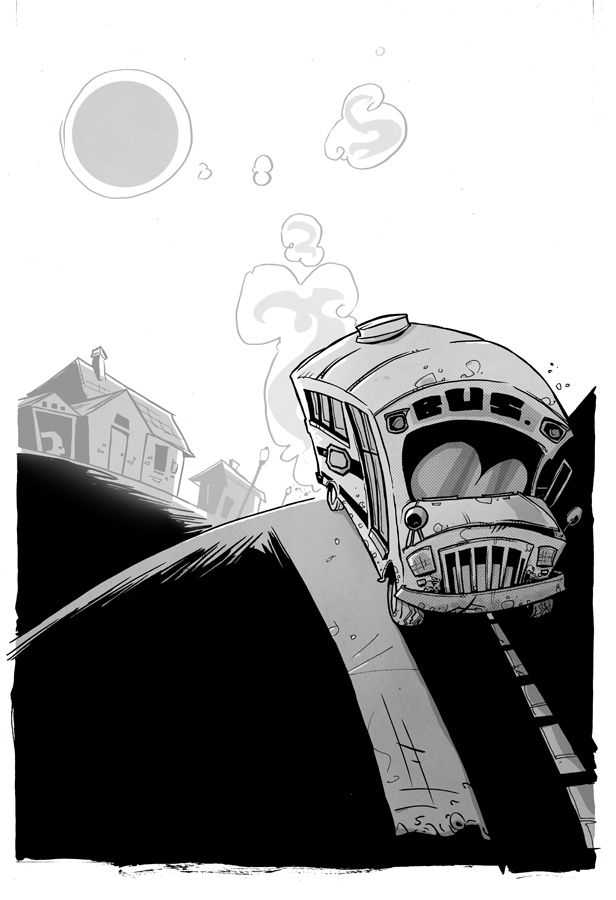
Anyway, below is the "rough shadow" layer without lineart.

Step 3: Separations!

Thank God for my color assistant, because I hate this stage. Struble goes into the lineart, and basically lays out the foundation that I will be building the rest of the color on top of. For major characters, he works from color guides I provide him with. For everything else, I generally just let him do whatever and change the color choices when I get around to it. Struble's contribution has been totally invaluable to the book's workflow, and we could never keep it coming out at this pace without him.
Step 4: Shadows!

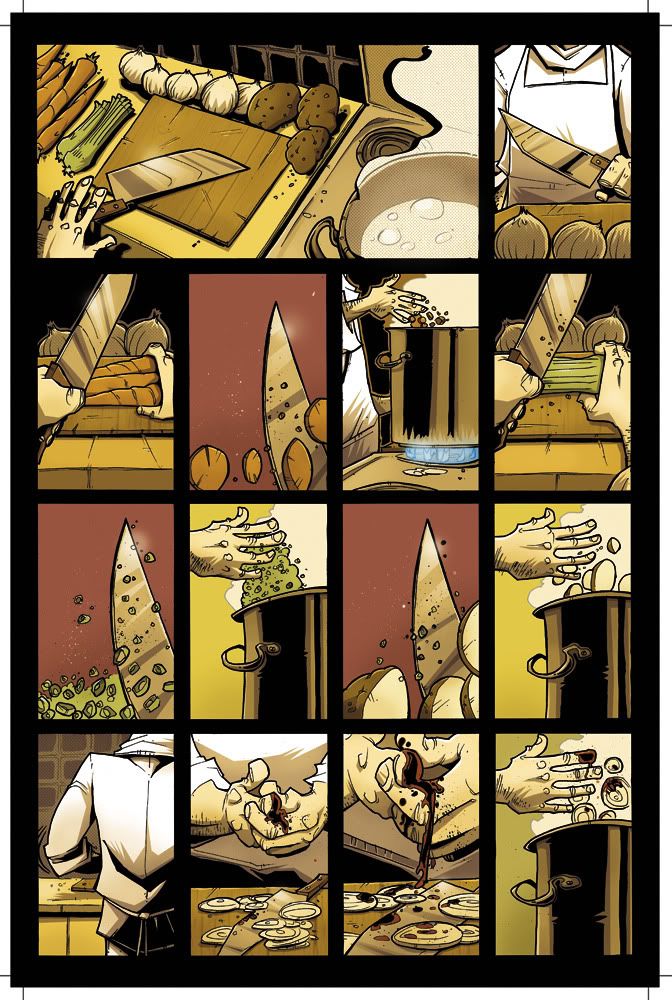
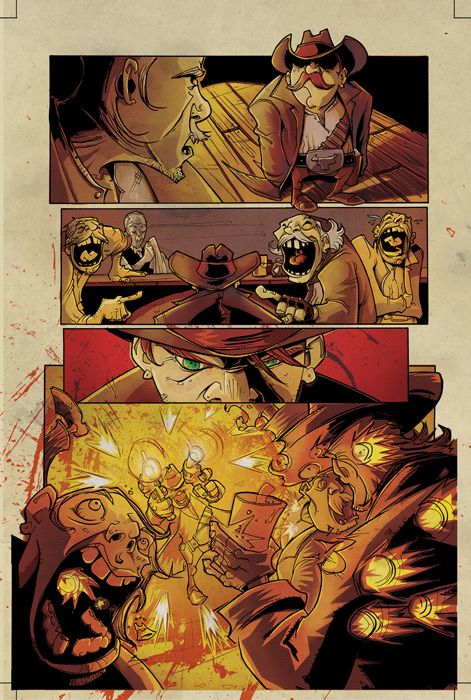
Next, I drop Struble's flats into the lineart. I tweak the color choices, generally leaning toward more subtle colors. Then, I tweak the rough shadows, adding a darker shadow layer for extra depth. It's mostly detail work, really.
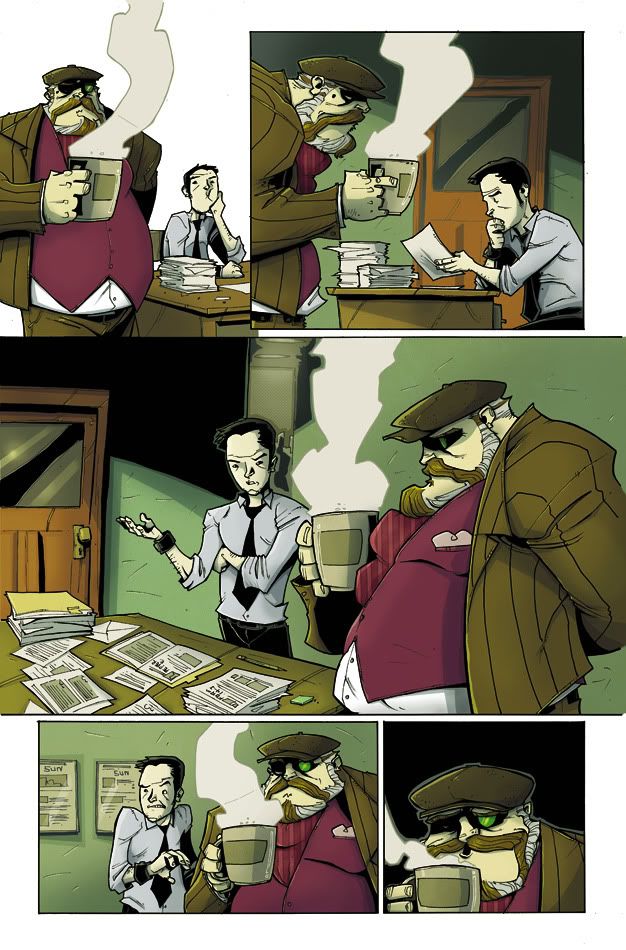
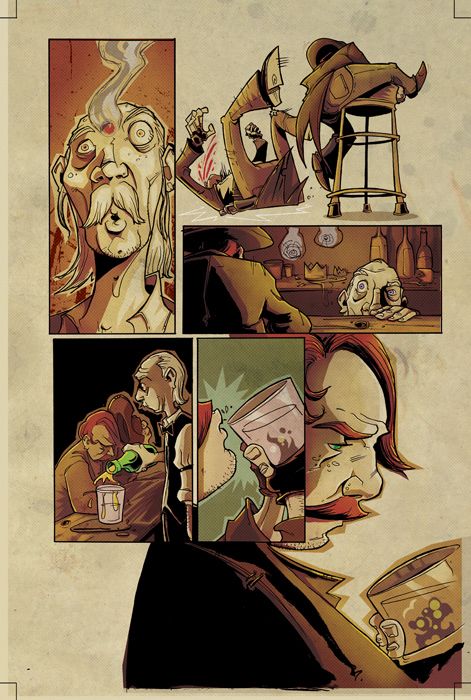
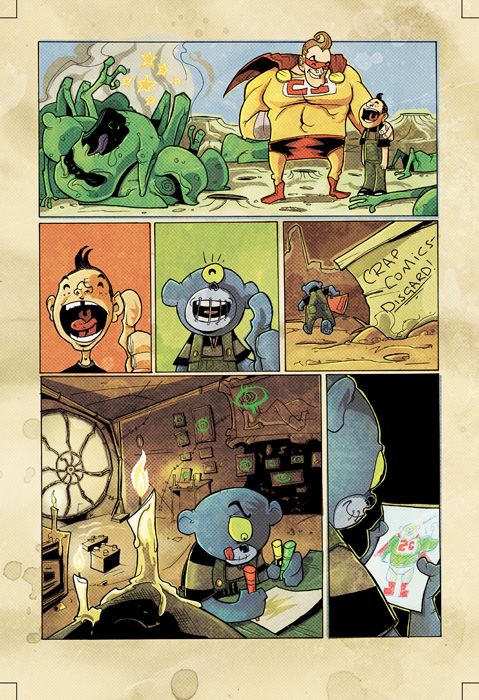
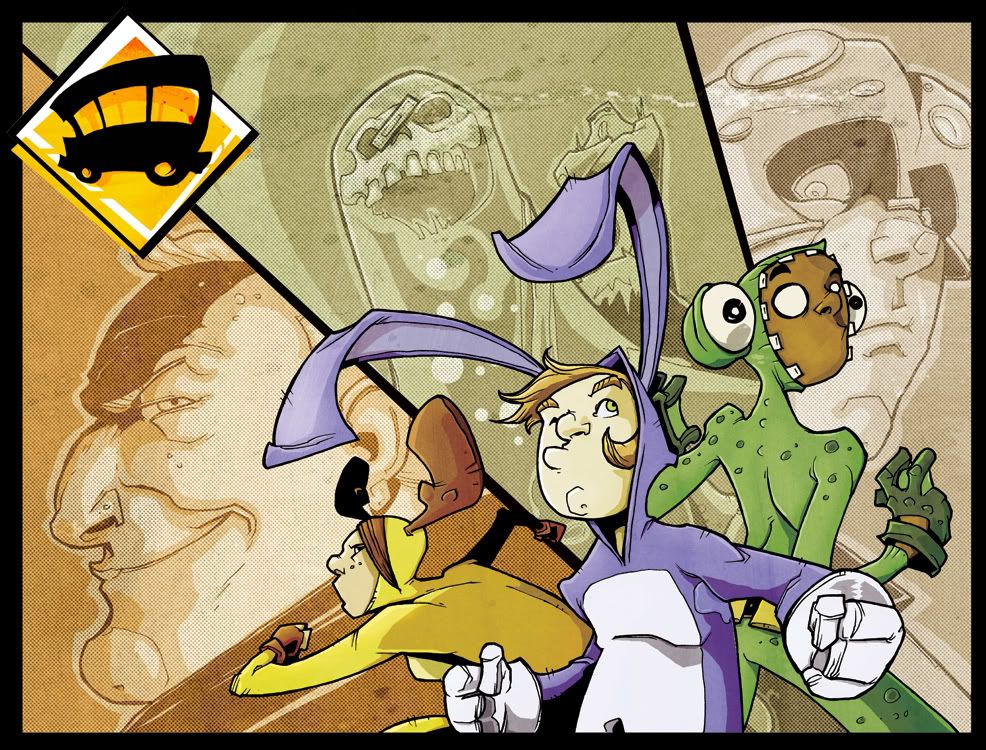
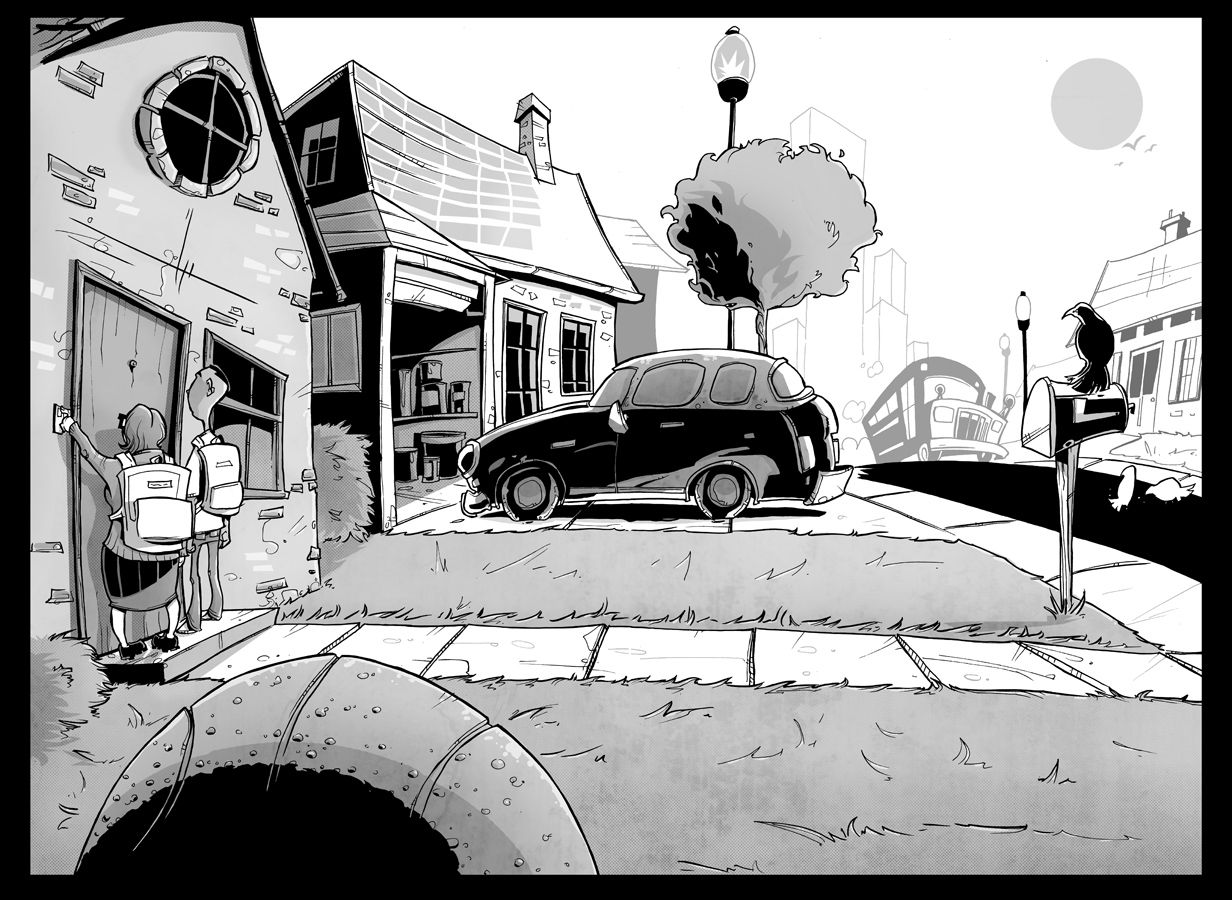
Also, I brush over some of the black lineart, turning it into color, for more depth and a fun touch. Note the green bubbles floating around Drunken Colby, as well as the backgrounds in Panels 2-3. Turning the background lineart a different color is an easy way to separate background from foreground. Easy, but I like it.
Step 5: Harmony!

An easy step. I drop in a couple Photoshop filters for color harmony. Generally, I have one Color Layer at low opacity and a Burn layer just to darken things a bit.
Step 6: Gradients!

Another shadow and lighting step. Using the digital airbrush I add gradual lights and darks. One Multiply layer for darks. One Overlay layer for lights.
Step 7: Highlights and Texture!

I drop in a texture layer in Multiply, just for a nice non-uniform feel. I have a crapload of textures, everything from sidewalk cracks to grease stains. All totally invaluable. Again, I lean on the side of using them in a subtle fashion.
Plus, I draw in the Highlights in an Overlay layer. Two depths of lighting: A bright white for brightest points, a grayer white for not-so-bright spots. Again, gives the feeling of a nice depth that probably only I can appreciate. Did I mention that I'm ANAL?
Step 8: Vivid Glow and Effects!

Last step. This is literally polishing the page. I drop in a Vivid Glow onto Panel 1, just to simulate the sunny day feeling I'm wanting. Plus, I also airbrush in some Vivid highlights onto the windows, metallic substances, etc... Just a little extra something. I drop in a red color layer over Colby's red eye, just for a nice glow. Plus, I drop in a Zip dot texture into the background of Panels 4-5, just to busy the space a bit more. From there, I save the file as a Tiff at 600dpi, and I'm done!
And FYI, in the end I generally have no more than 20 Photoshop layers for a standard page.
Here's hoping this wasn't too mind-numbing and at least partially informative. My best advice: Just experiment. Try some stuff and see what you come up with. There's no better substitute for getting your hands dirty.
-Rob


8 comments:
Great post. The amount of you work you put into every issue is greatly appreciated.
This is awesome, man. Always nerd out on seeing other people's process. Thanks for posting it!
Thanks for posting! Super informative, and it's great to see how different people colour their comics. Just want to say that the comic greatly benefits from your self-admitted anal-ness. I for one am grateful for it! Chew is one of my favourites.
great post man, for sure. it's was really informative, i love seeing how other artist work. keep up the good work!
Really appreciate the time you took to put this post together, has defiantly inspired me to get back into my drawing, and maybe even attempt a short story, which I have had in the back of my mind for oh so long.
Hey ! I'm a french reader of Tony Chu. I love The Goon so someone tall me that I would appreciate this comics. And I do ! I only read the first one and if I can't get the others in french, I 'll find a way to buy it in english.
I hope you'll keep going this way !
So, even you use Photo$hop, you must make your hands dirty. But I thought that program does magically everything automatically, without any interaction...
As far as I can see from this superb post, this can be done with every other layer based image editor.
Nuff said, just keep up the AWESOME work! <3
Greetingz from Hungary.
I'm starting my comic career hopefully < u don know how this post is useful for me thank u very much
Post a Comment