
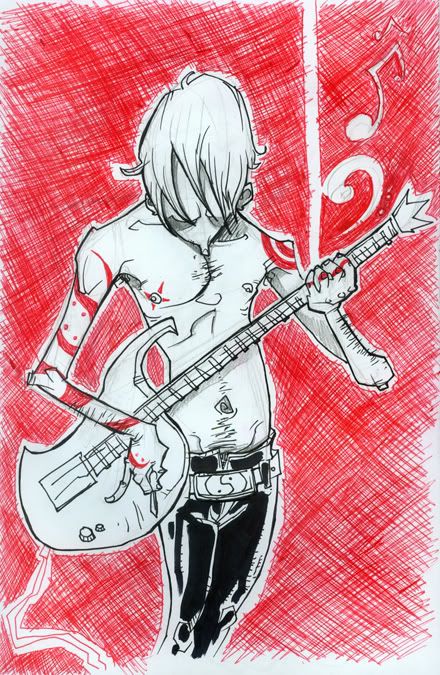
Please excuse the crappiness of my photos. I don't have the will to actually scan in each stage. Told you: LAZY.
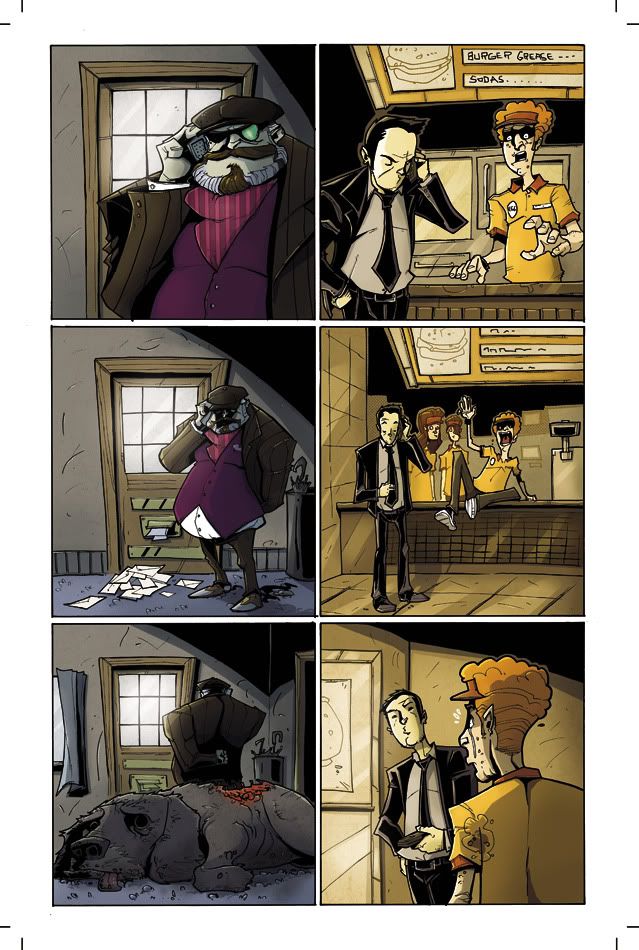
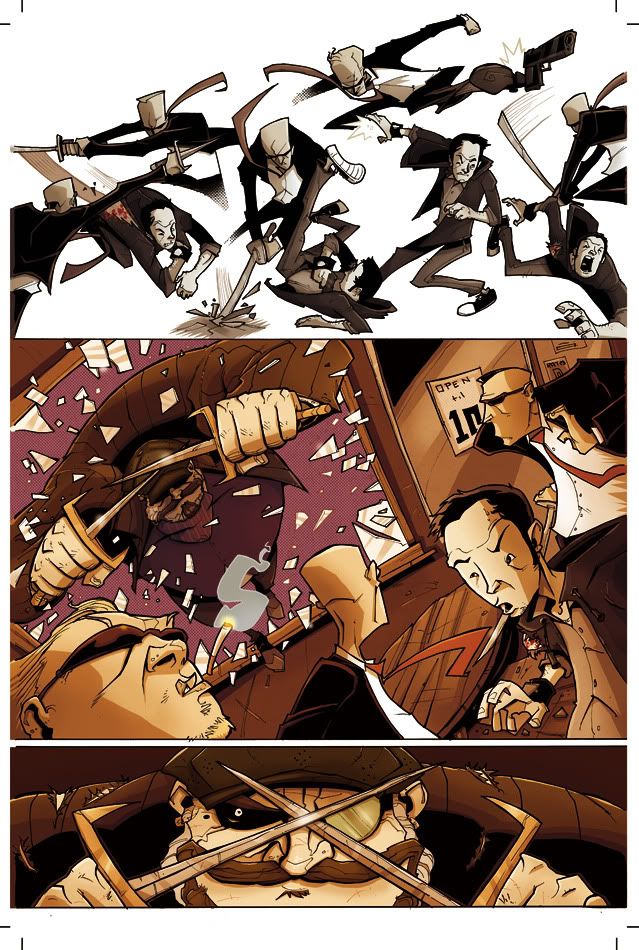
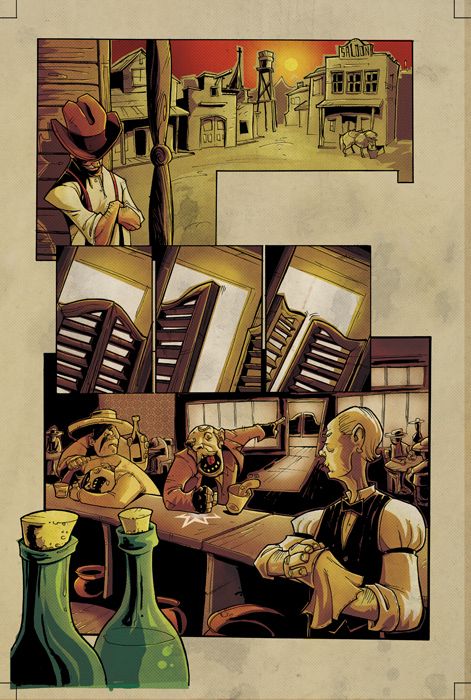
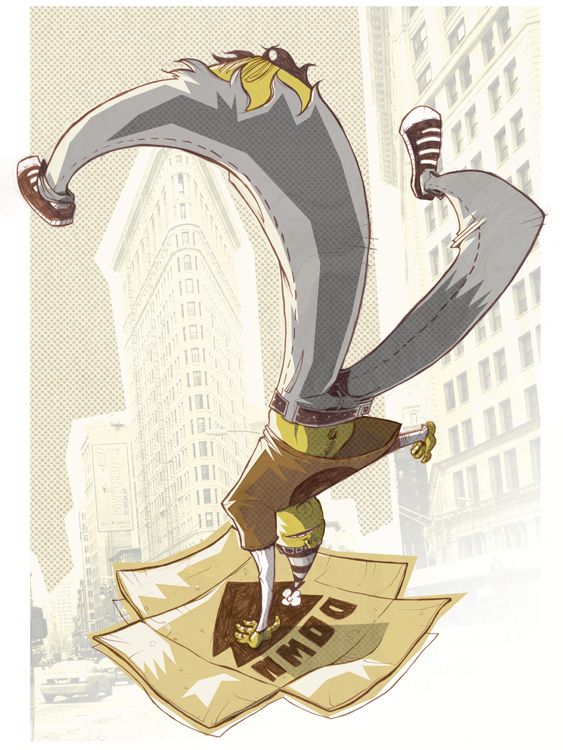
10:30am: Thumbnail.
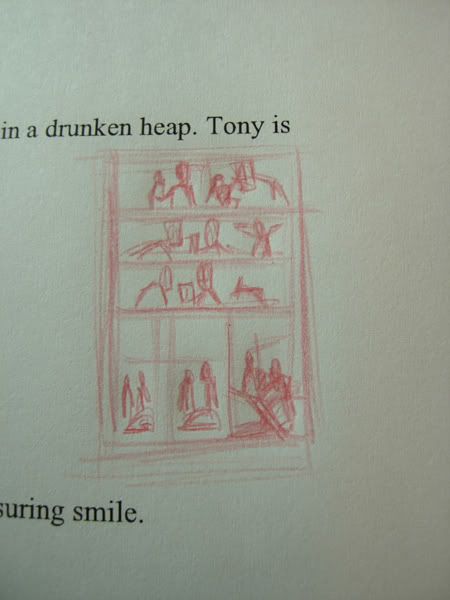
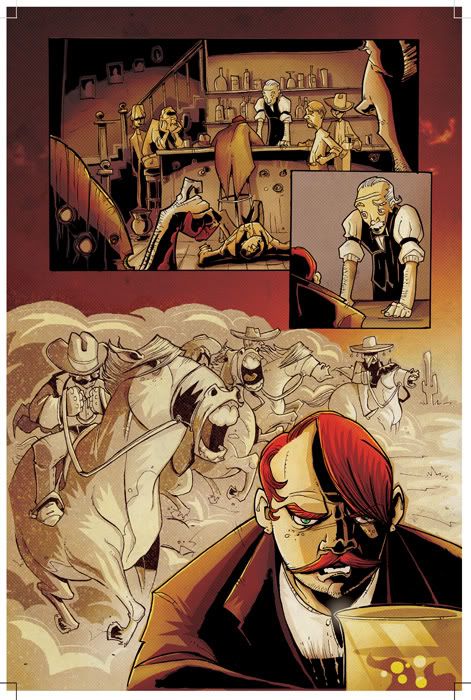
Step 1 is actually reading the script a few times, but for the sake of boredom, I'll skip to the thumbnail. Above is a reeeeally quick thumbnail of our page. I tend to focus more on mass, layout and pacing than much detail. It's not much, but it's all I need to get started.
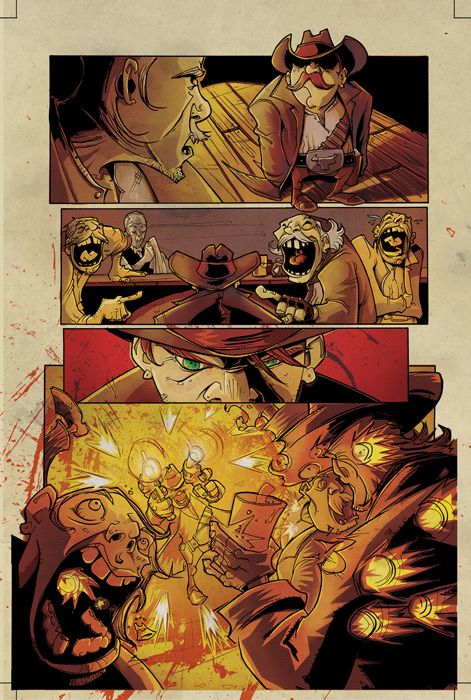
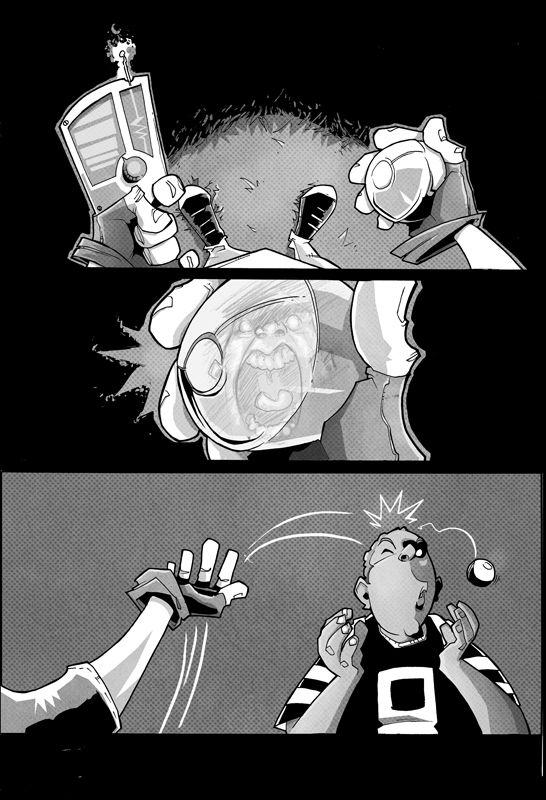
11:00am: Rough Pencils
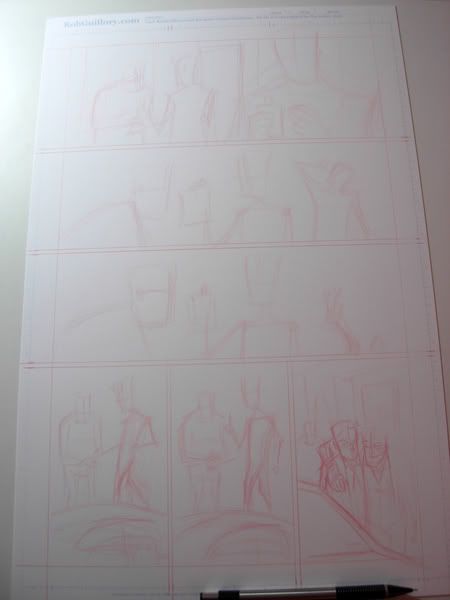
Next, I work up a quick, very rough layout of the page. I pencil using red graphite, because I find blueline's too waxy to ink on top of. Red's easier to see, plus it won't show up on a scanner. And it kinda looks cool under the finished inks. Again, focusing on layout and mass, but starting to flesh out character acting. I try to do these as quickly as possible, because Morning Rob tends to need a warm-up like a car in winter. I attack the blank page before it can intimidate me, really. These take, maybe, a few minutes.
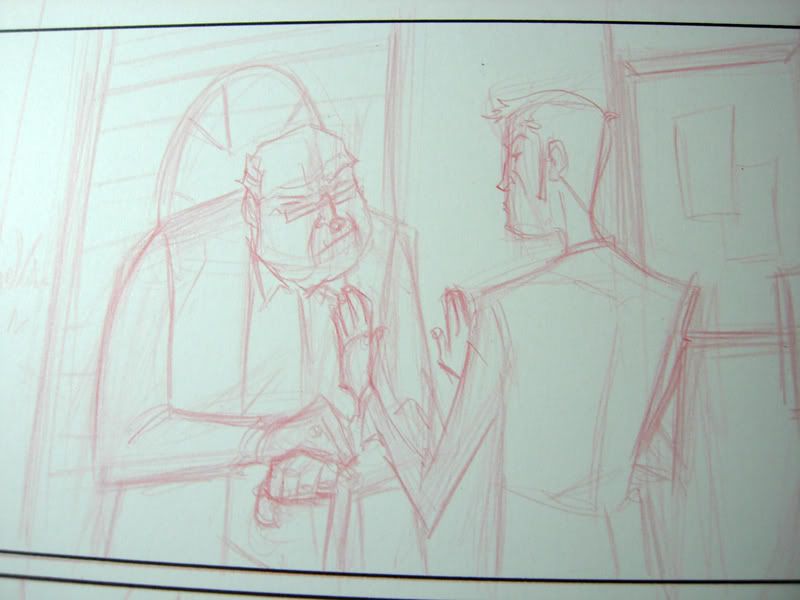
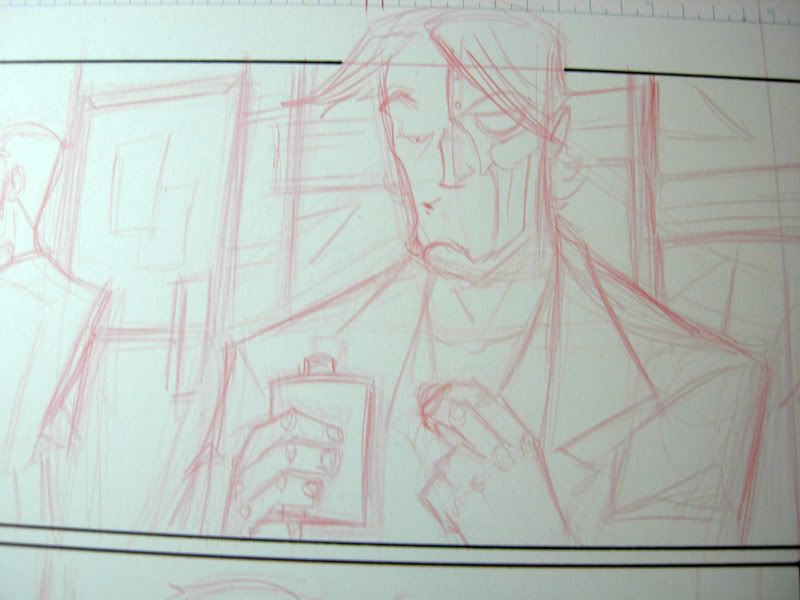
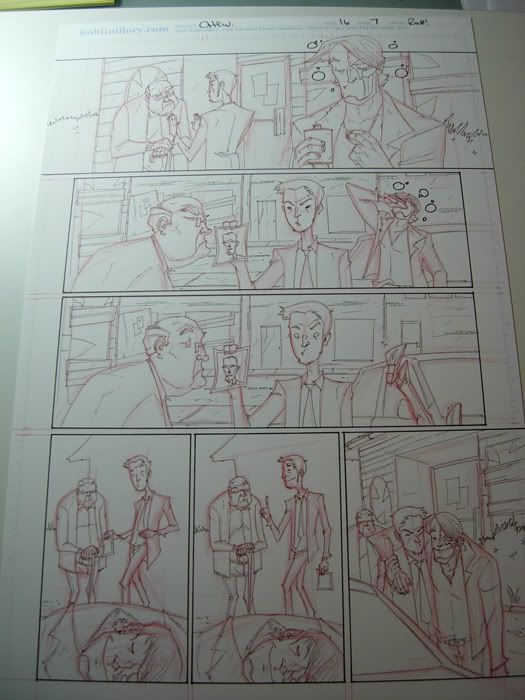
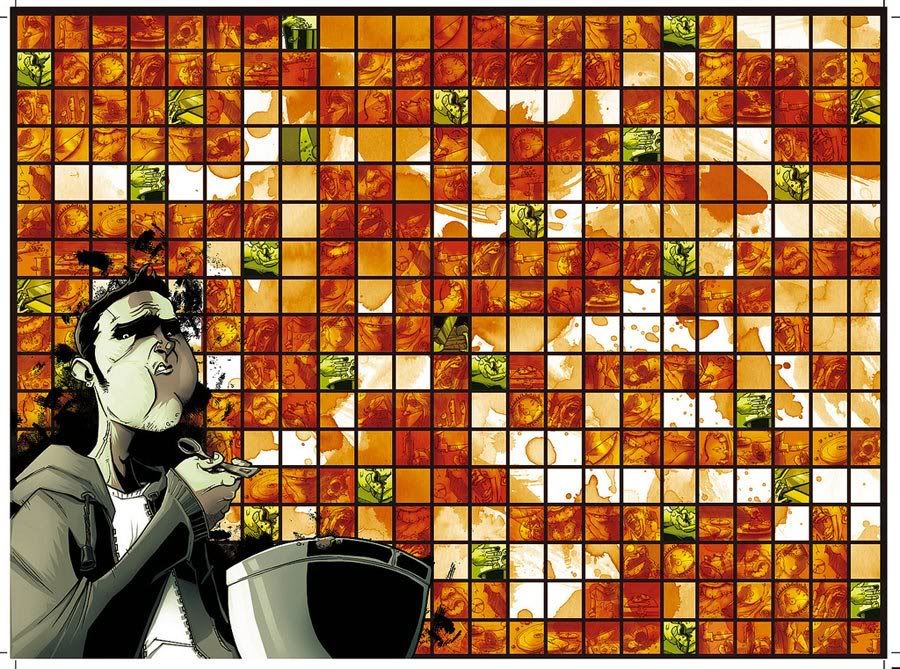
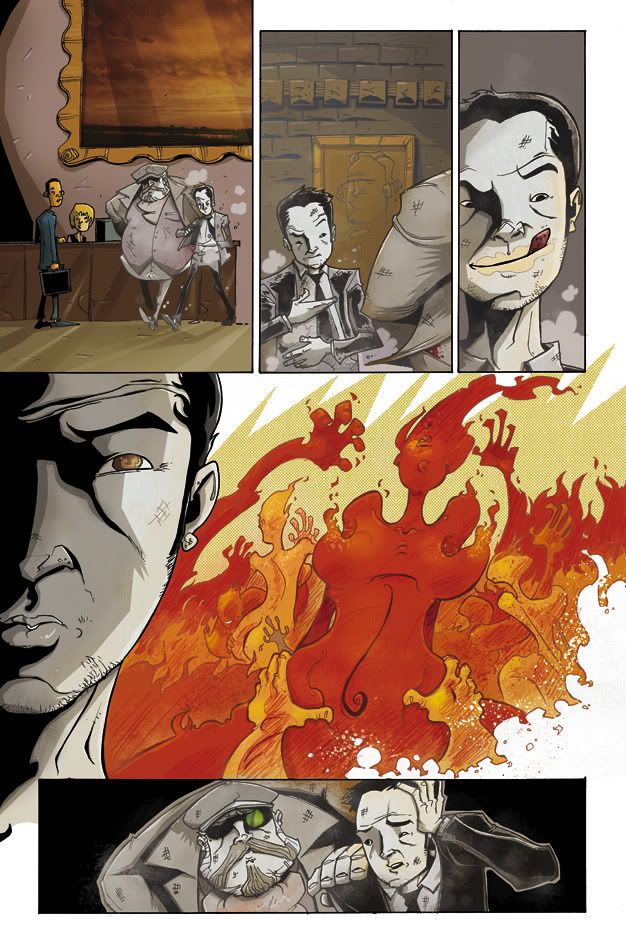
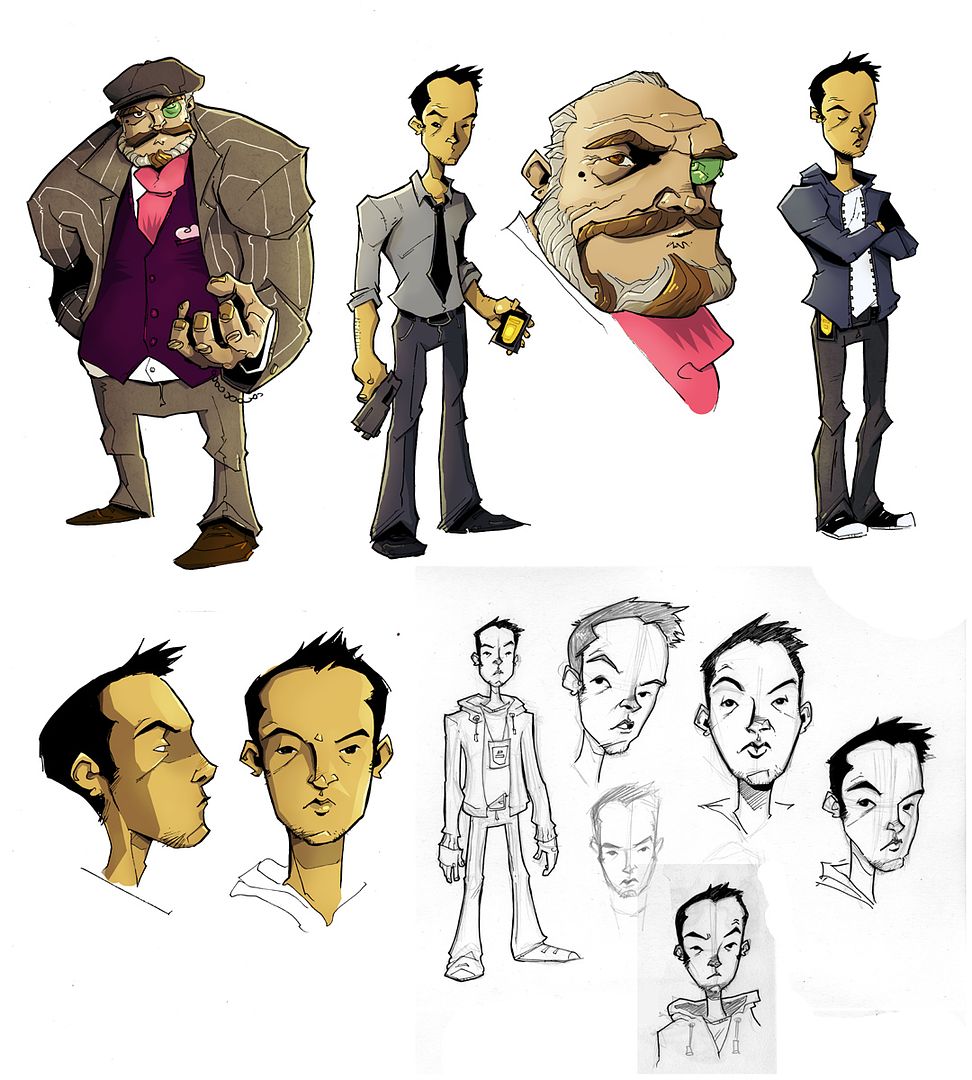
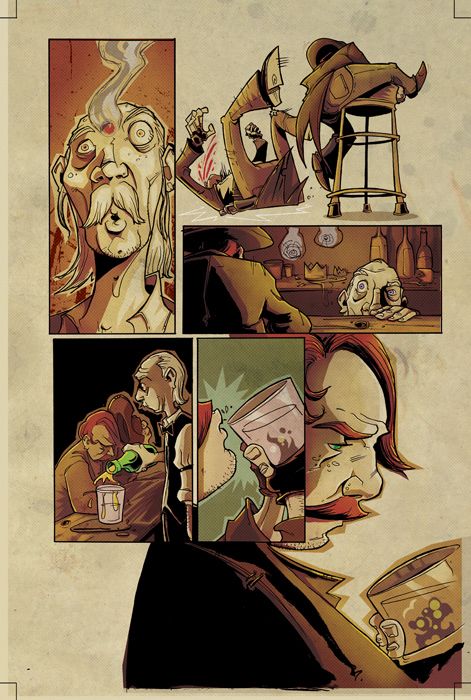
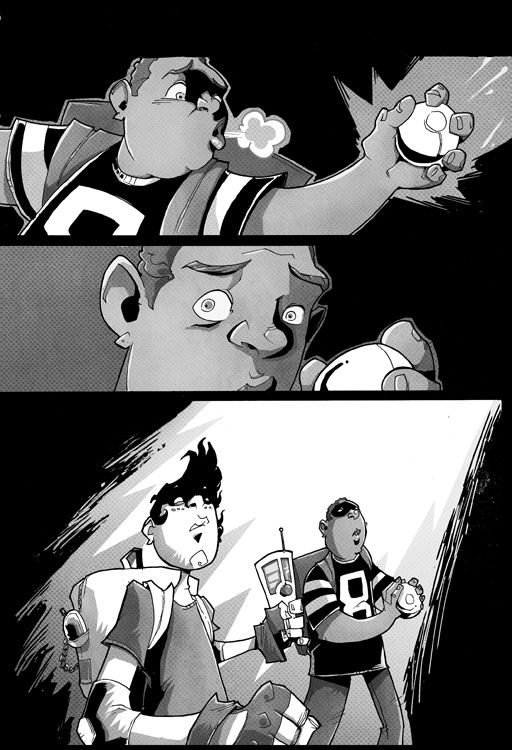
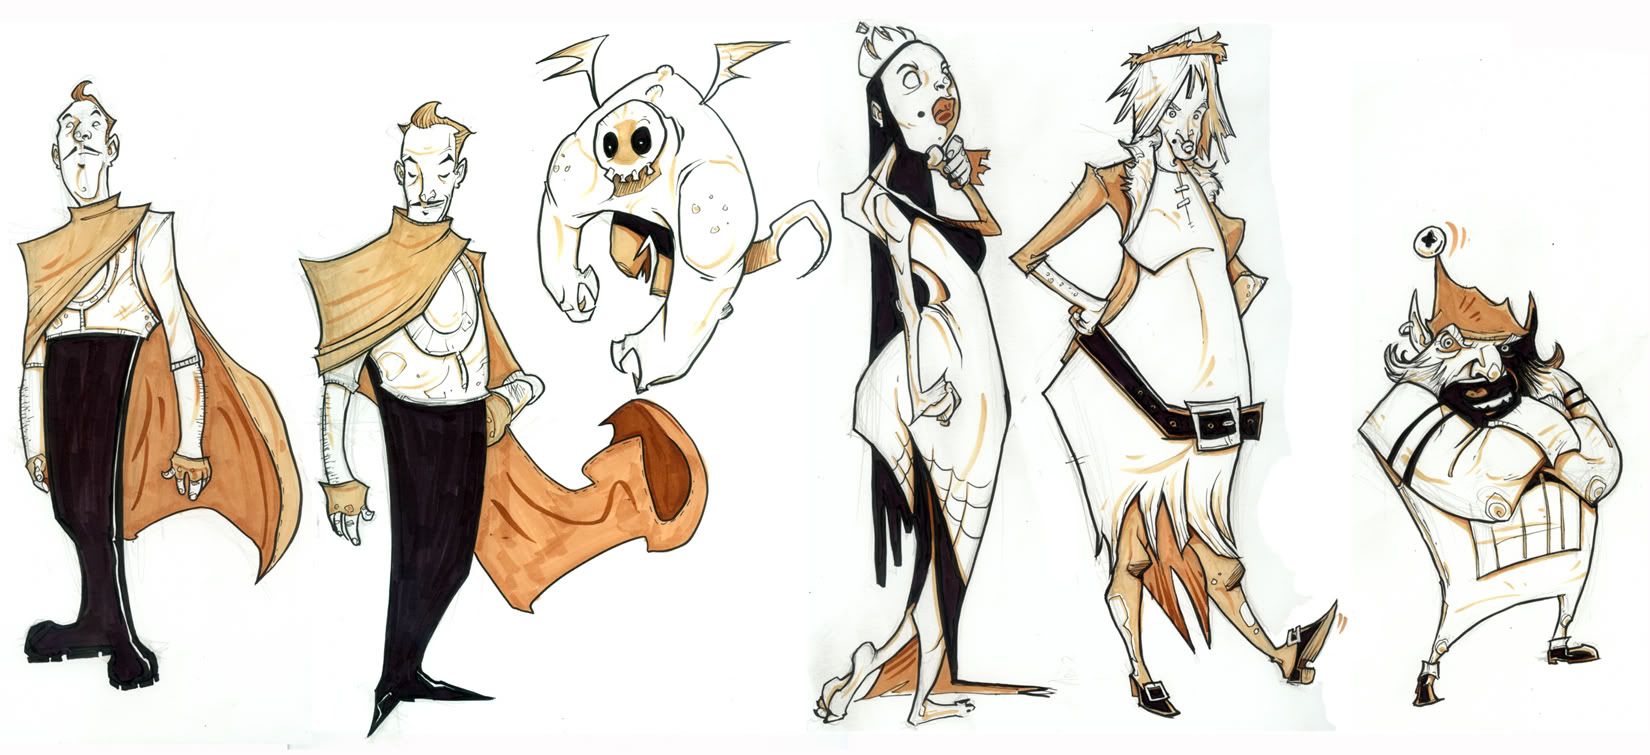
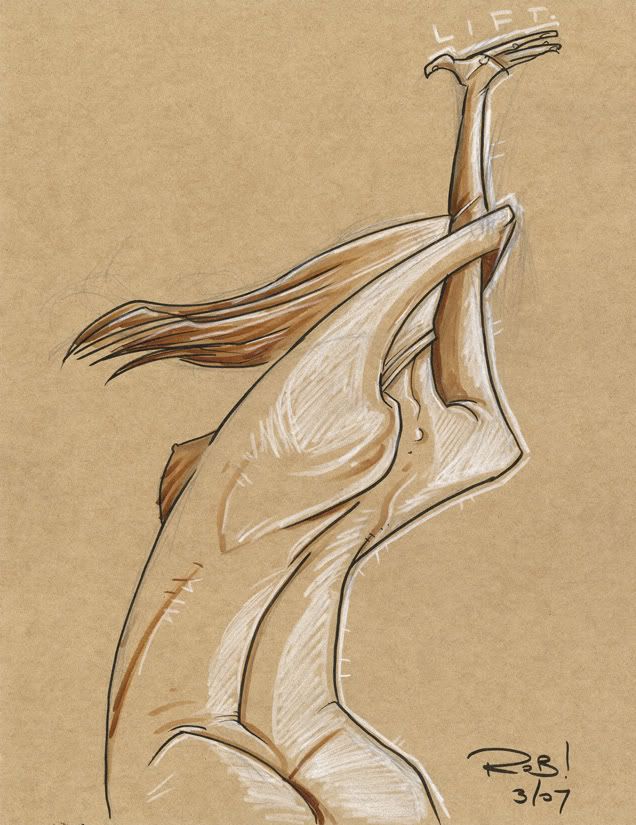
11:15 to 1:00pm: Detailed Pencils

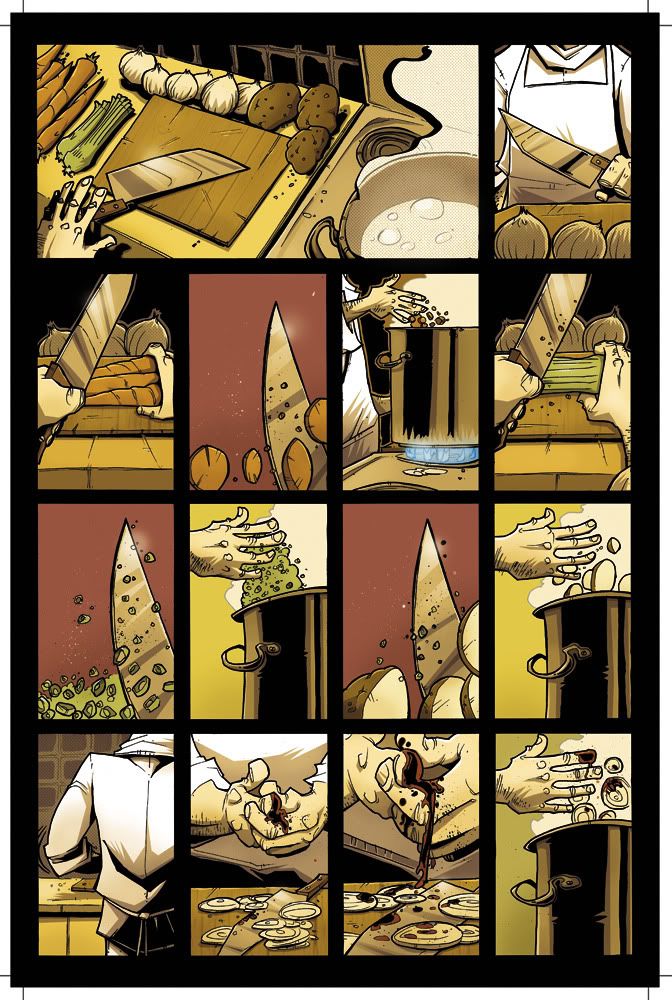
Now, onto the details. One panel at a time, I flesh it out, generally starting from the last panel, working backwards. I'm weird like that. I spend more time on body language and facial expressions than anything. As simple as they look, I agonize over the nuances of them.
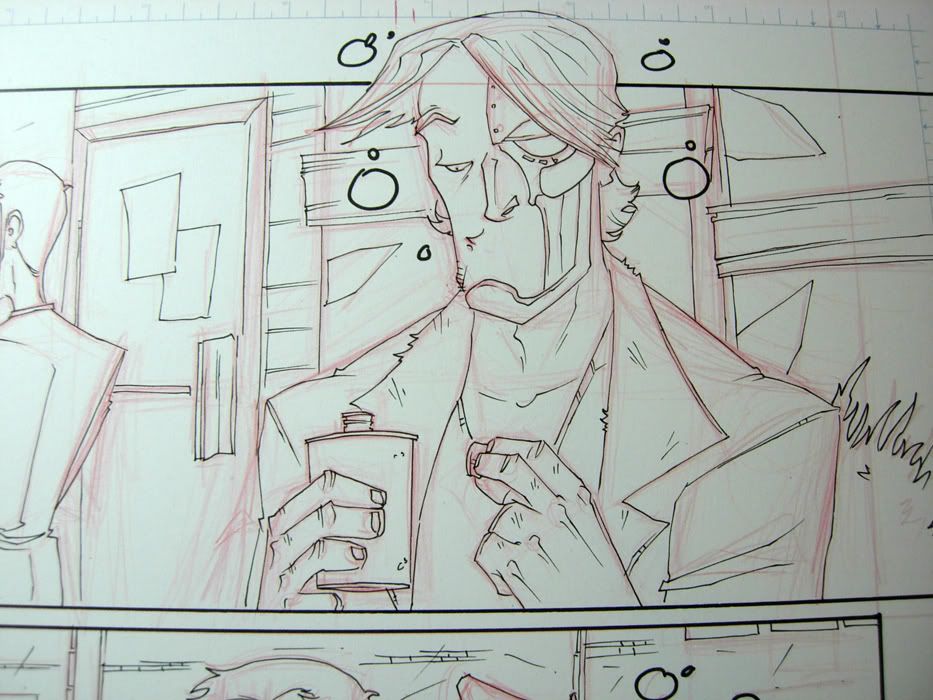
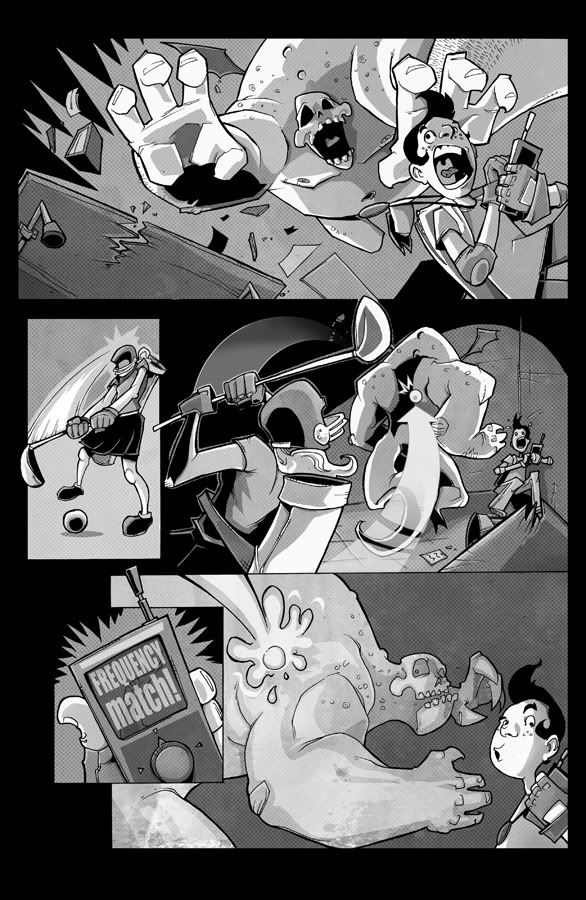
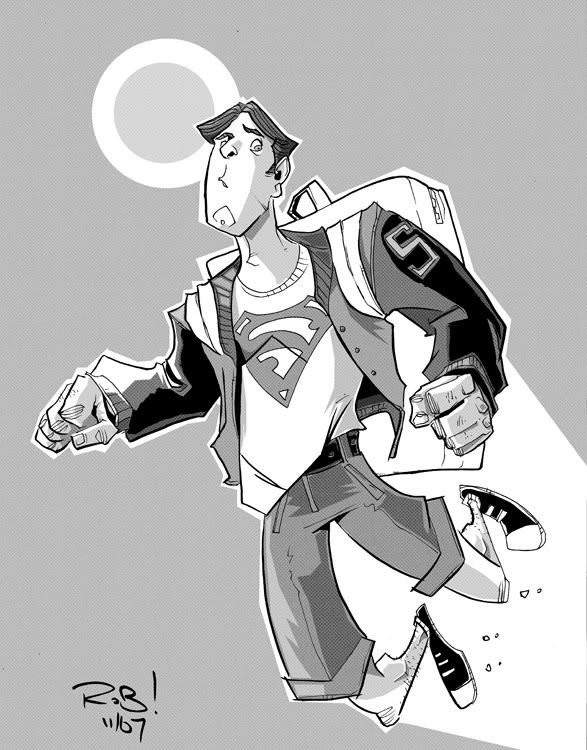
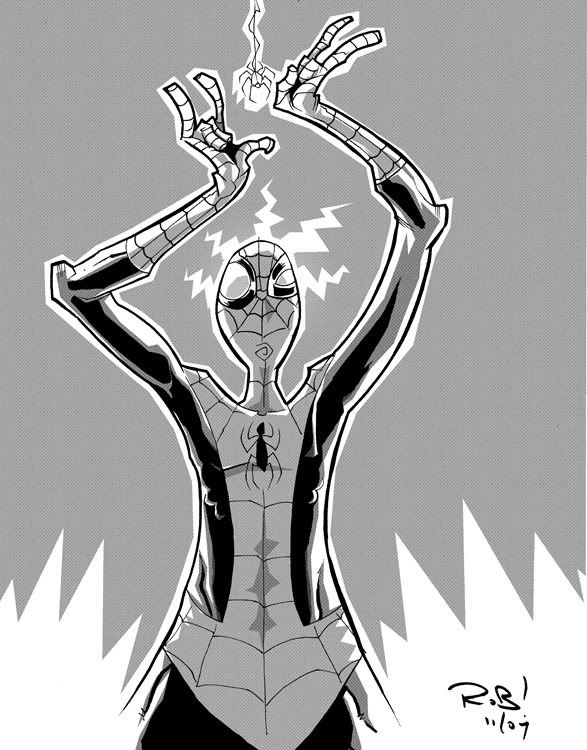
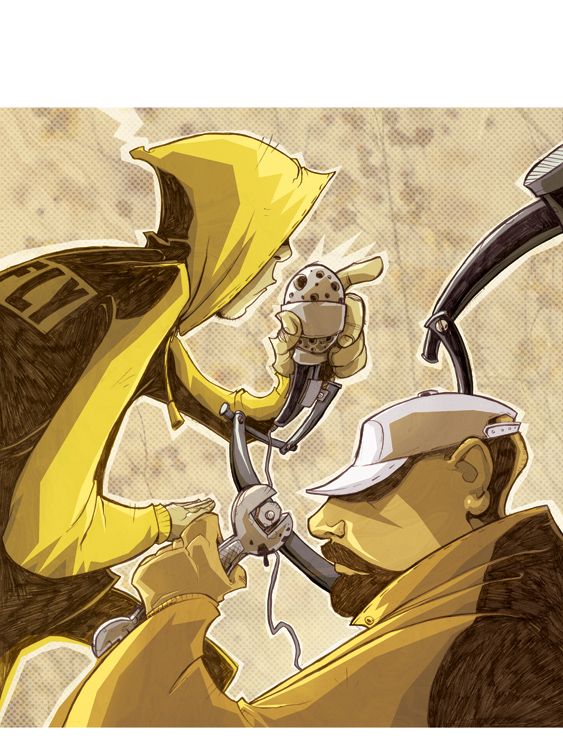
Pencil Details: Click to embiggen!
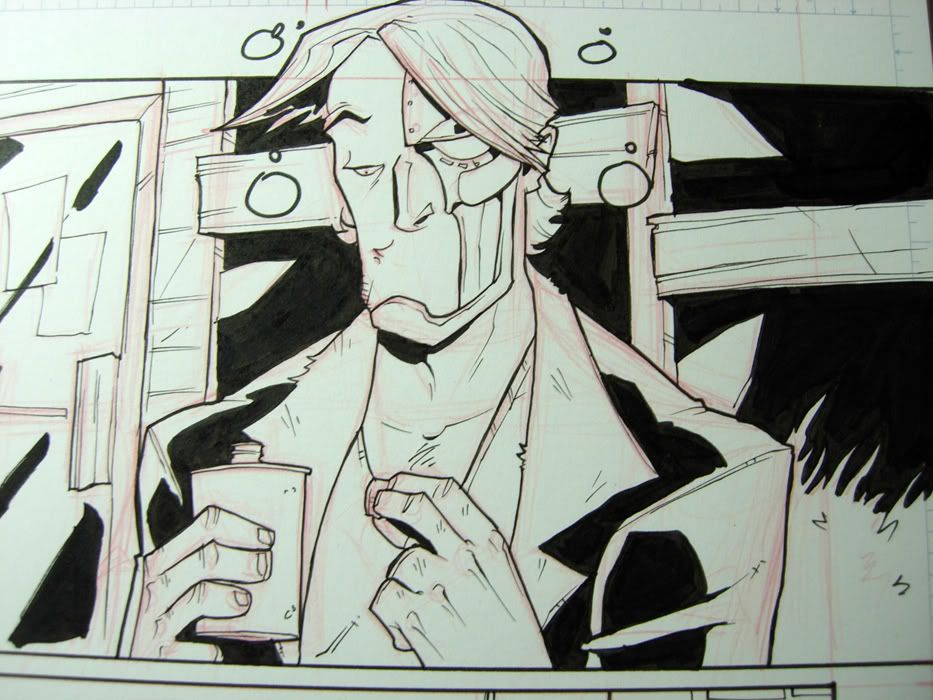
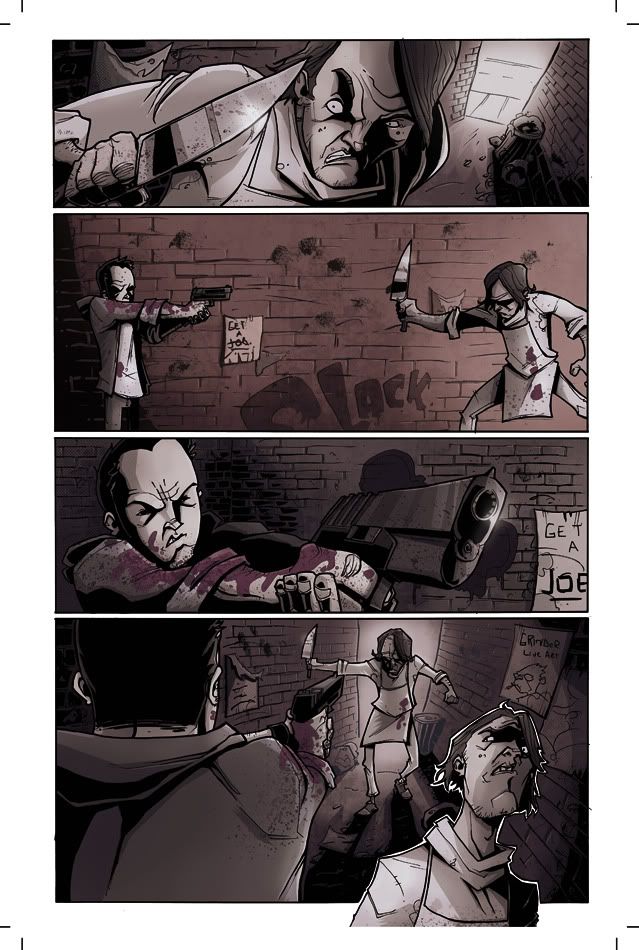
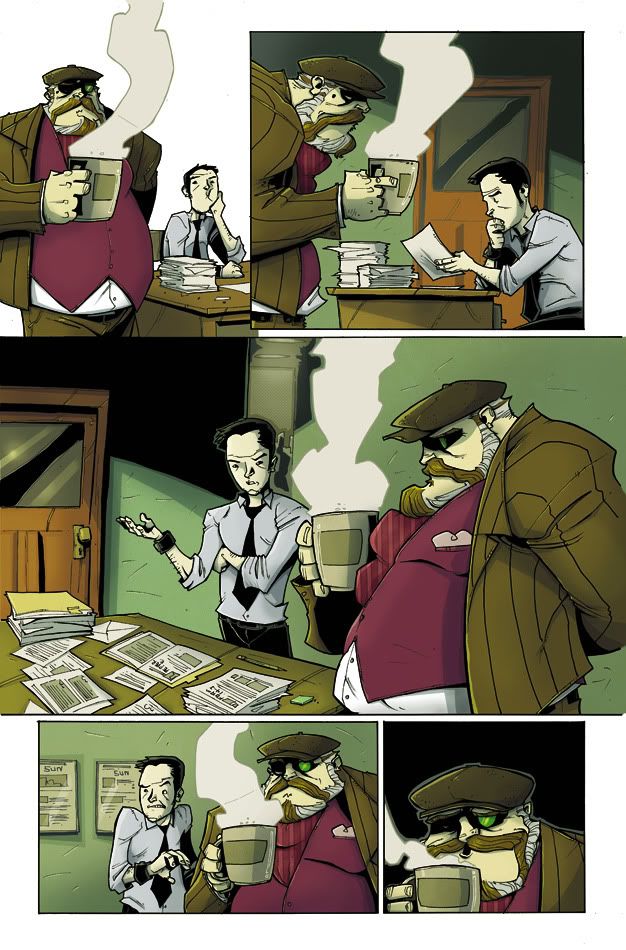
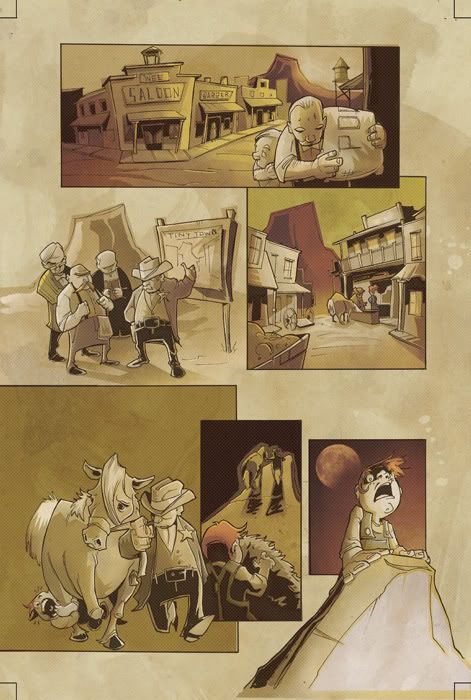
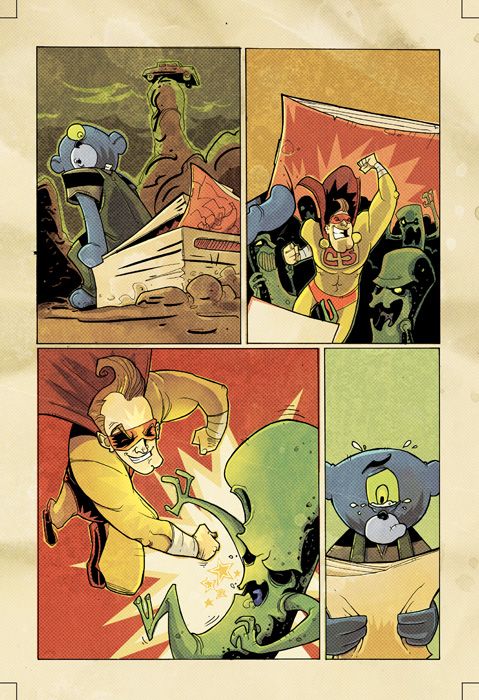
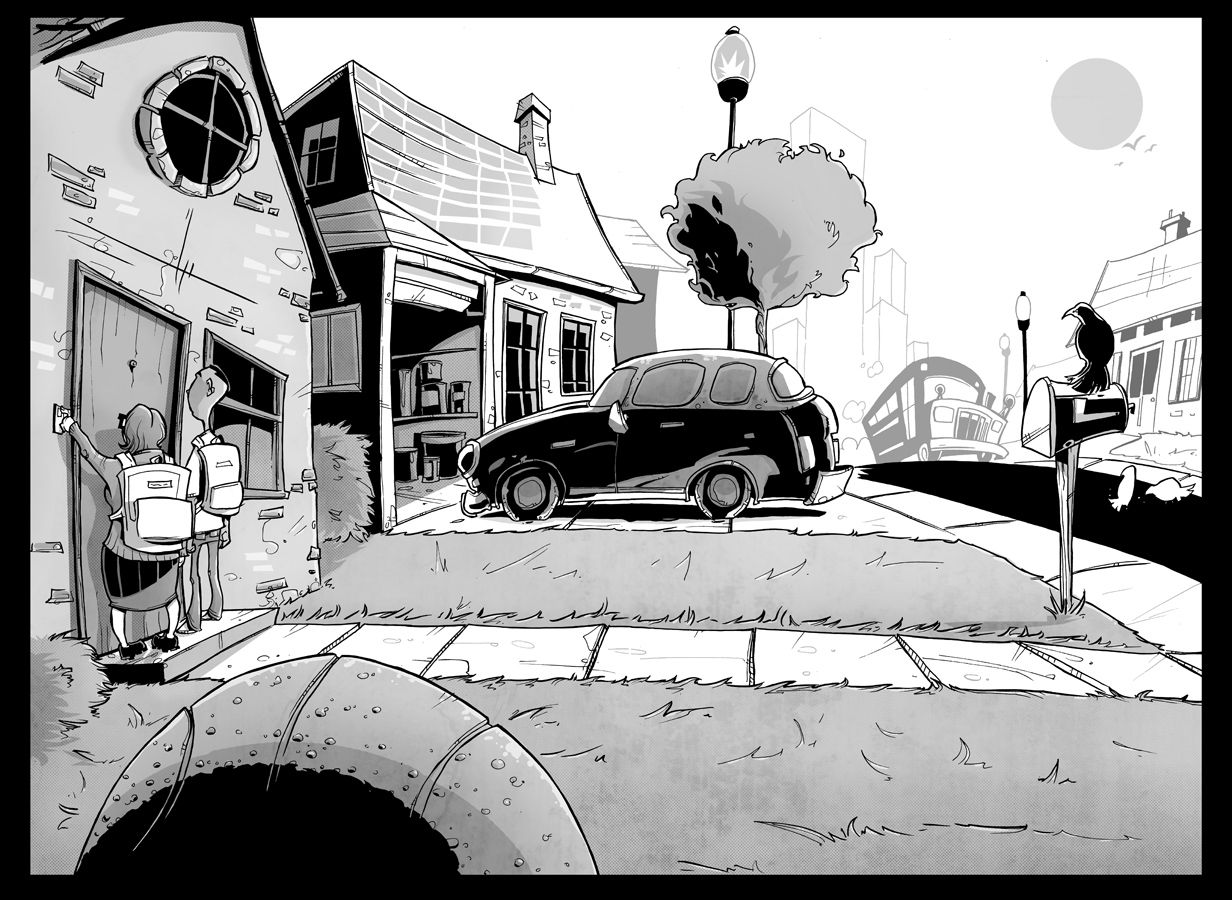
1:oo-2:15pm: Fine Line Inks.
I think this might be the most important step of my process, mentally. This is the point where I commit to the page. Right or wrong, there's no turning back. Unless I f*ck up and have to use white-out, but that's rare. I tend to draw a lot with the pen, adding details without ever penciling them. Fairly improvisational. It's all cake from here.
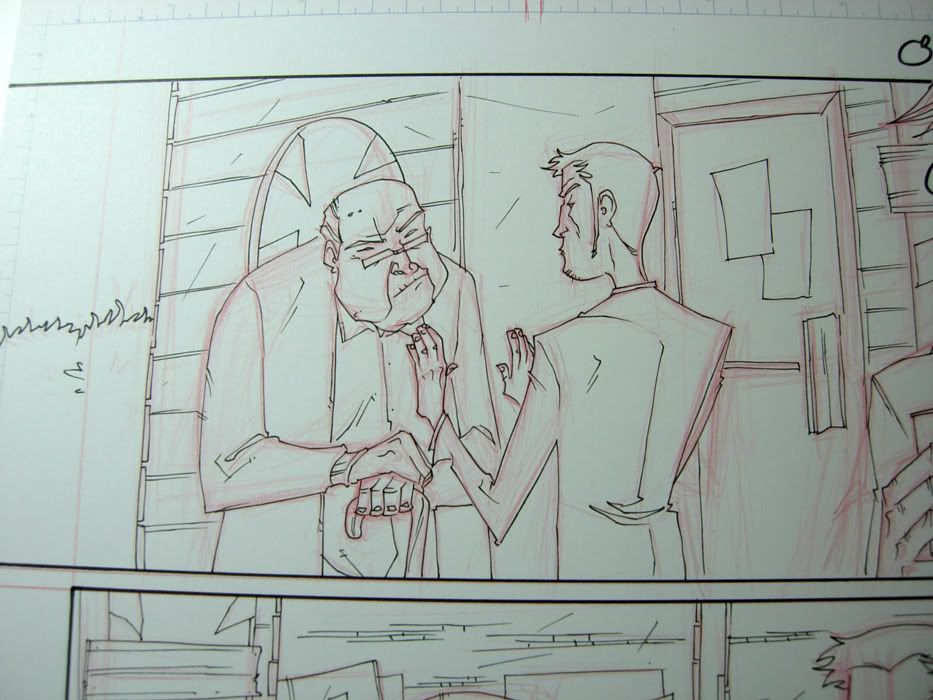
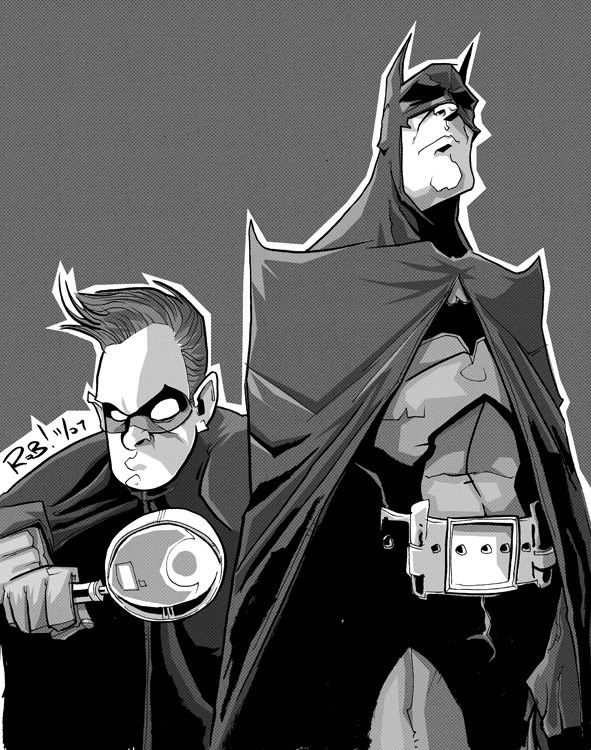
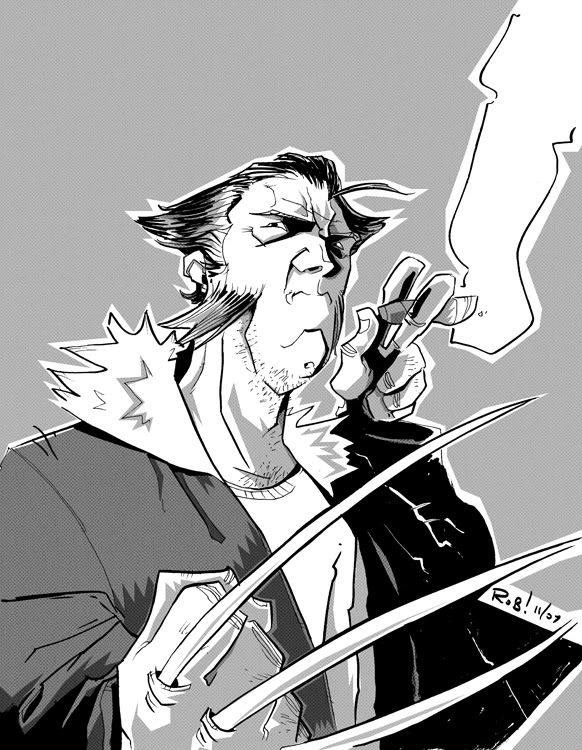
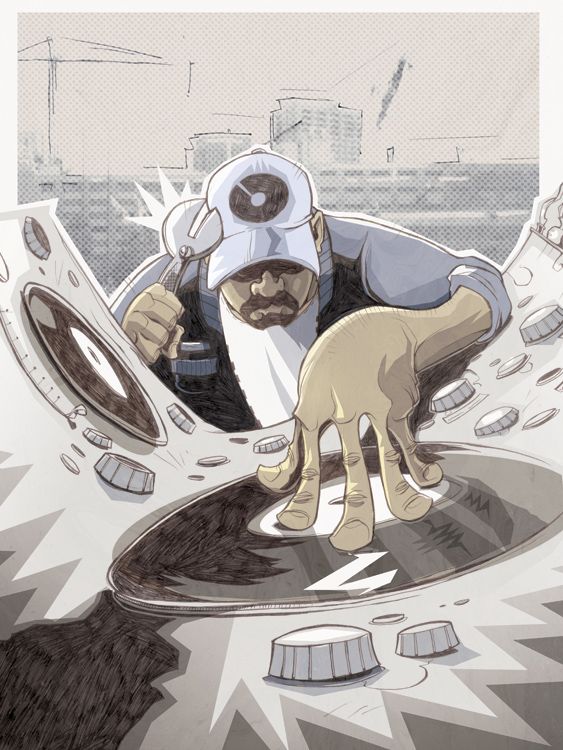
More details:
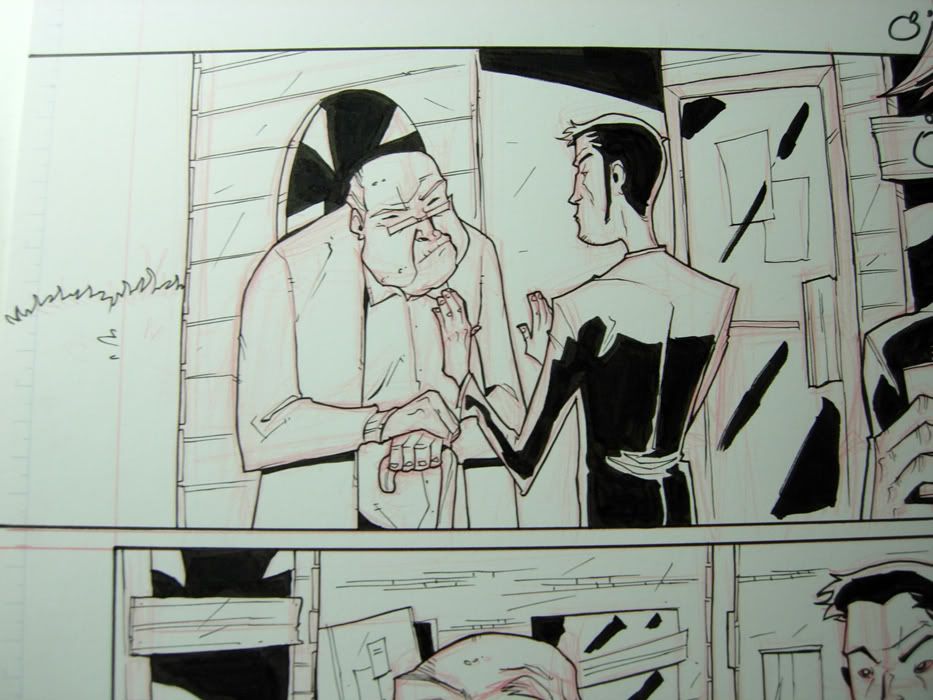
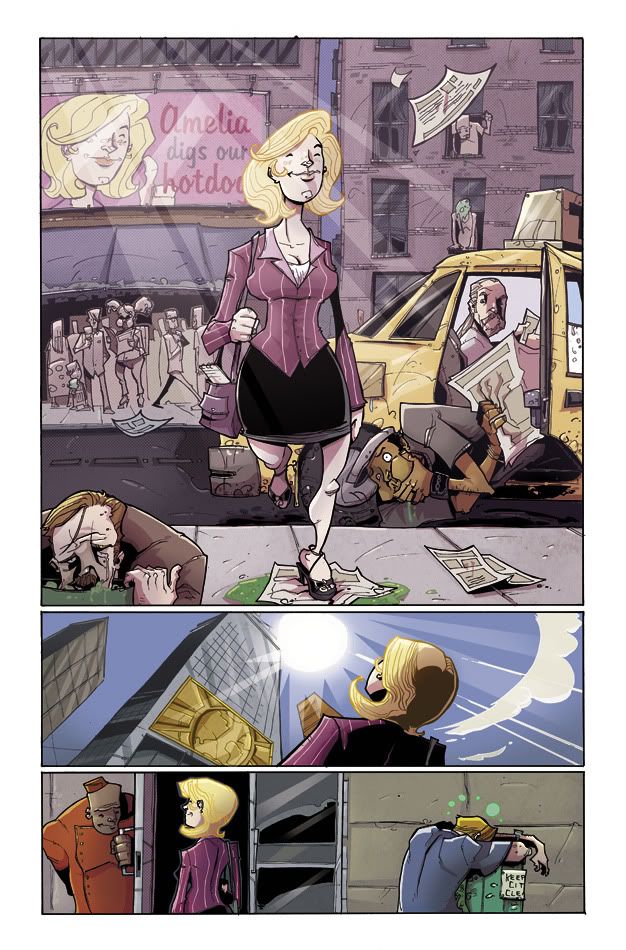
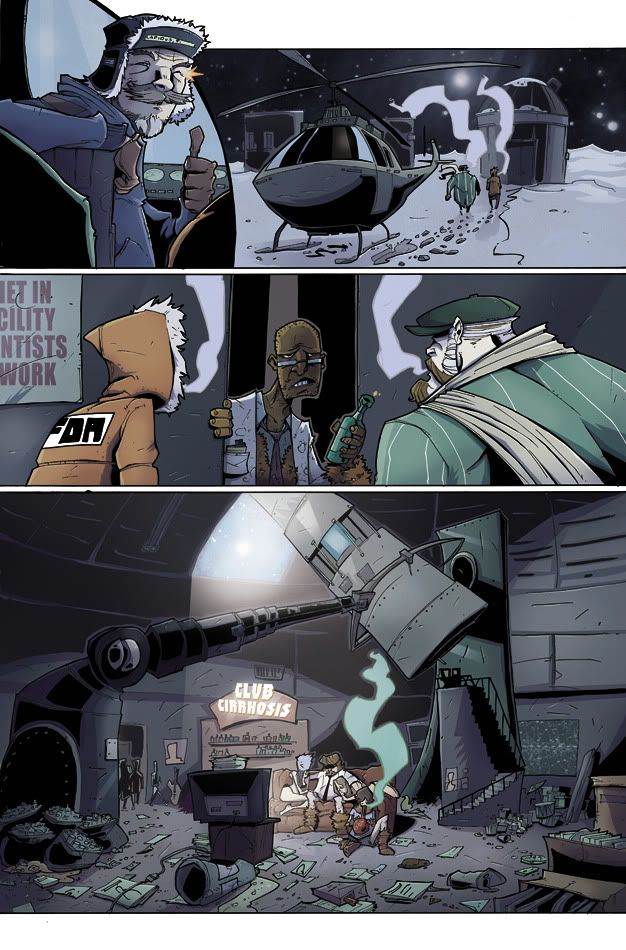
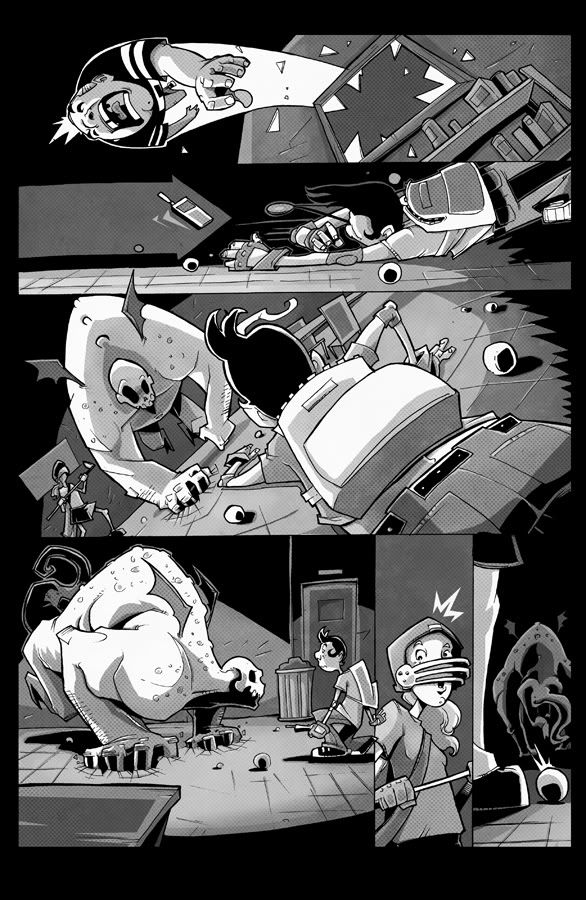
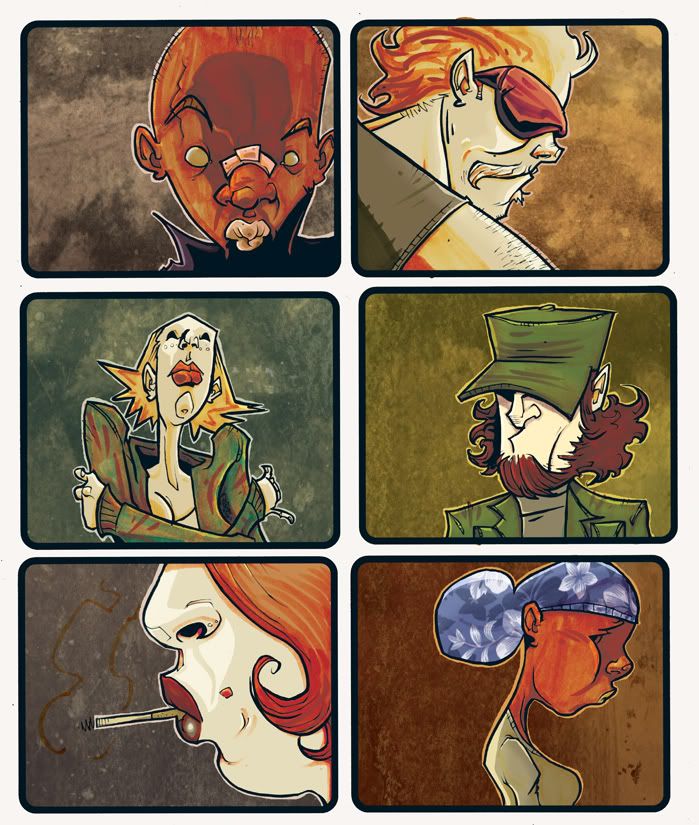
2:30-5:30ish: Line Variation and Blacks
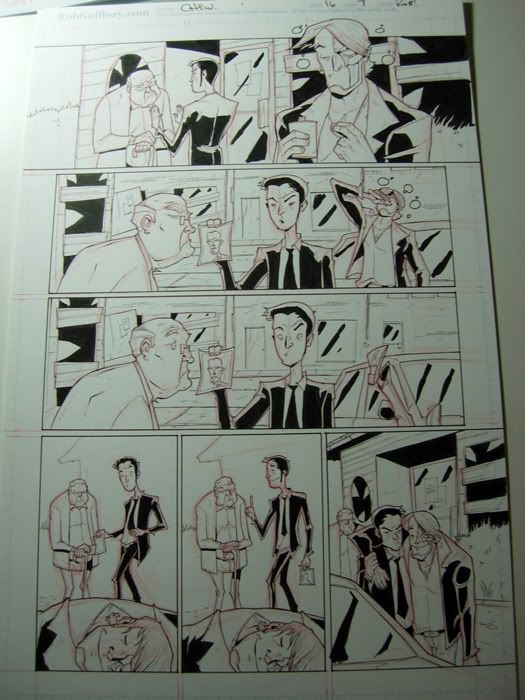
This is the part where I get to put a movie on and shut my brain off a bit. Simple stage. Adding thickness and variation to the fine lines, adding patches of shadow, etc... I usually add easter eggs and background jokes at this stage, mostly out of delirium.
And that's kinda it. Maybe one day I'll walk you through the Photoshop stage. Maaaaybe.
Peace,
Rob!


10 comments:
Mm... that's good process, right there. I really hope you follow up with your colouring process, since that's the bit I get stumped on most often, especially when it comes to selecting colour pallettes.
Great stuff all round!
Thanks for posting this; love seeing the process of artists I dig. I always do thick/thin inks on the first ink pass; never occurred to me to do a second pass for that stuff. Gonna try that!
thank you so much! will be holding my fingers for the photoshop
u r amazing.
Thanks for posting the process art. And belated congratulations on your Eisner!
man, that's good stuff. Helping me out quite a bit on the comic i'm working on... thanks homie!
This is so inspiring for a wanna-be artist!
Just one thing though... I'm from Denmark - can't seem to find red graphite pencils anywhere.. :( Do you know of somewhere online to buy them?
@David: You can order red graphite at DickBlick.com.
Can't seem to find red graphite in there - don't wanna be a dick, just wanna buy the right thing, so gonna ask again. Hope it isn't gonna cost me a kick to the groin...
But I found these lead ones: http://www.dickblick.com/products/pentel-hi-polymer-lead-refills/#photos
is that what you're using?
That's it.
Thanks!! I'll buy some right away!
Post a Comment